A few weeks ago I stumbled across a Youtube video in which a globe was cast out of cement and then painted. I’ve been thinking about making my own globe for quite some time (not just since I’ve known the great globes from Bellerby Globemakers in London), so I tried my luck.
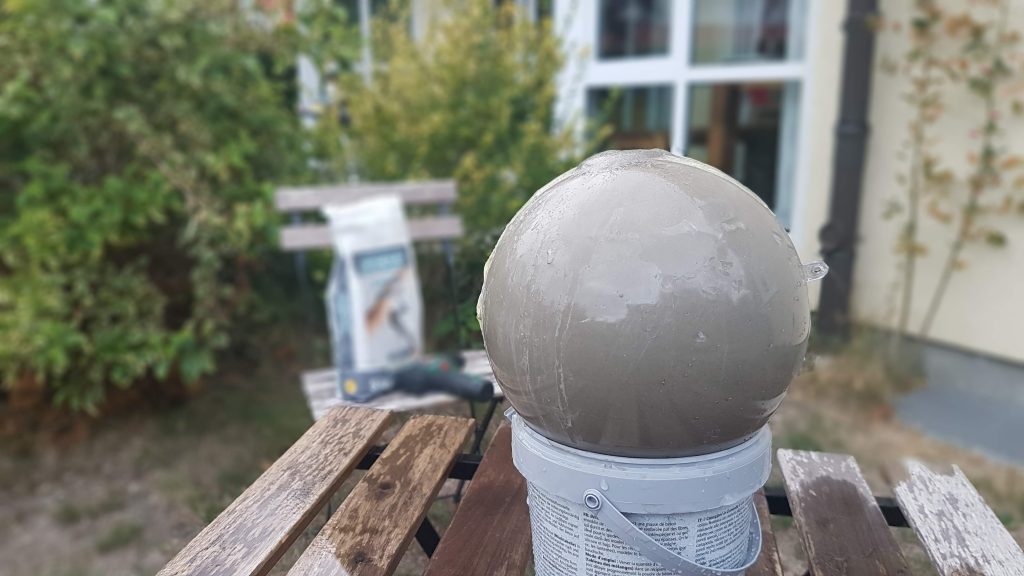
In the first step of the process, I greased the mould of a Christmas tree ball from a craft shop and filled it with fresh cement through a hole in the upper part.
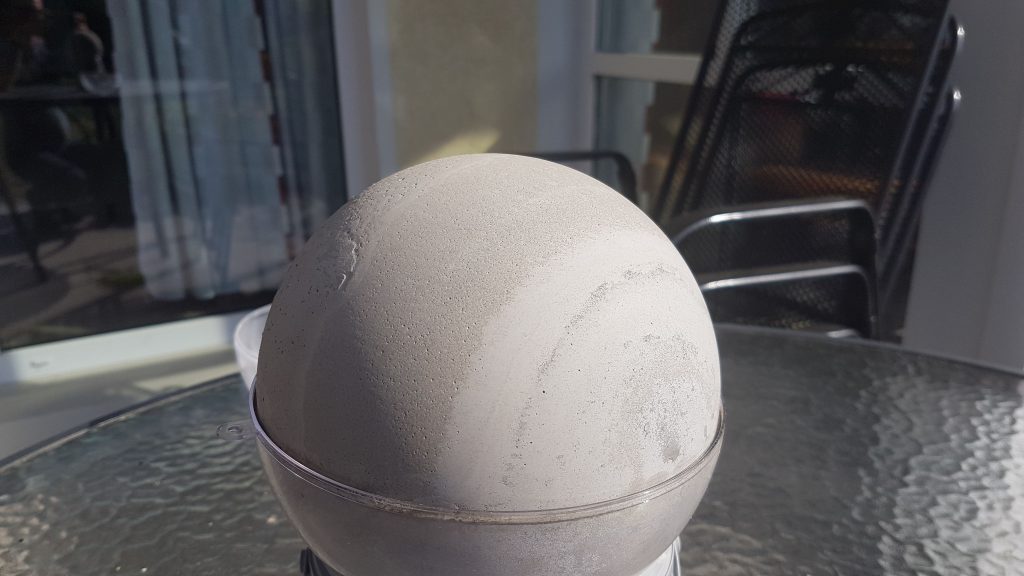
Due to the material of the mould, the drying process took a very long time. Only after about one day could I remove the upper half of the mould and let the globe dry well. The texture of the sphere reminded me a little of Jupiter or Neptune – maybe a good idea for the next project.
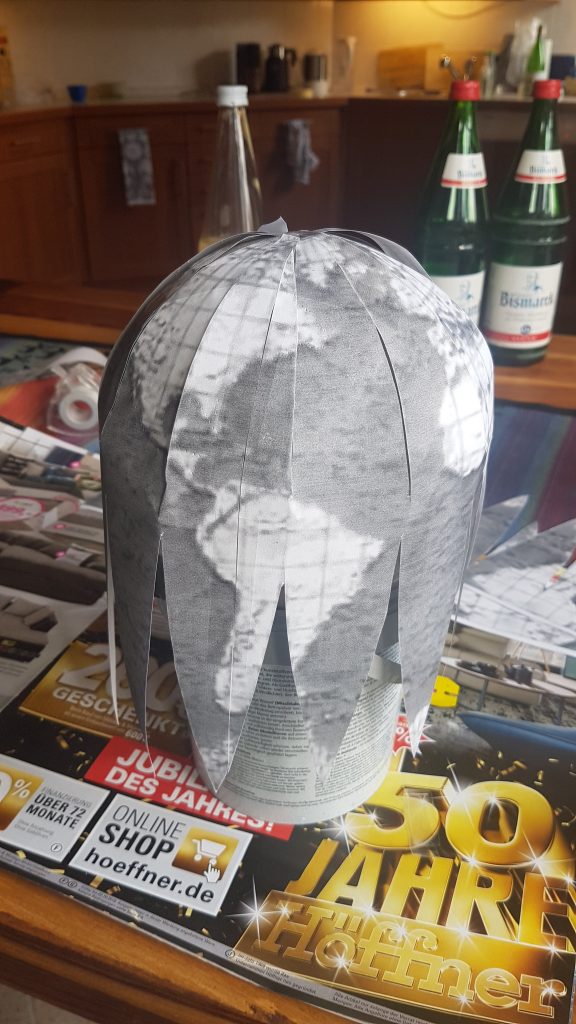
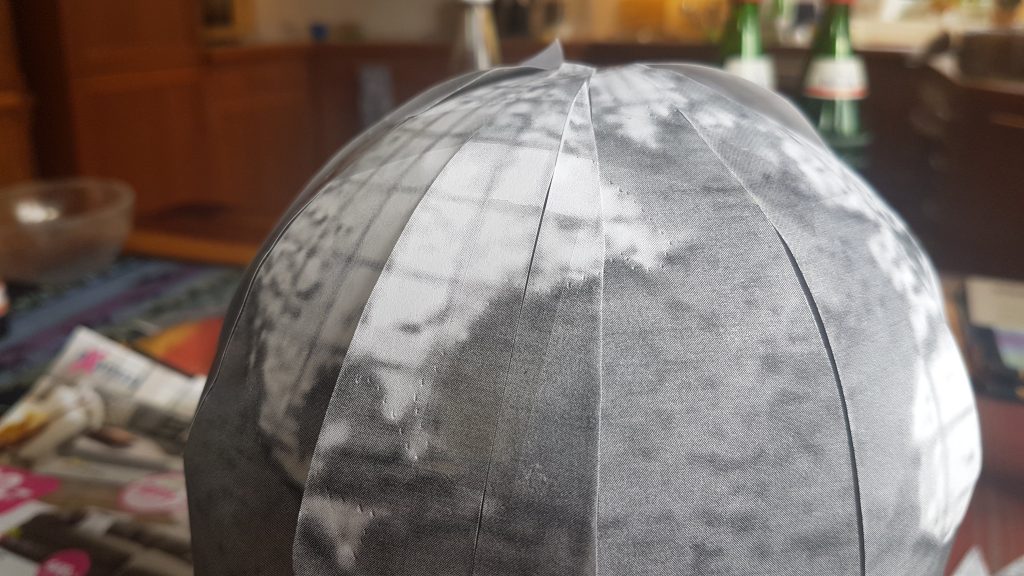
Every cartographer knows that it is not easy to bring the continents that exist as a sphere into a flat projection. The other way around, too, you have to do some tinkering. It was nice to find some templates for paper globes on the net, which I could then print and transfer as well.
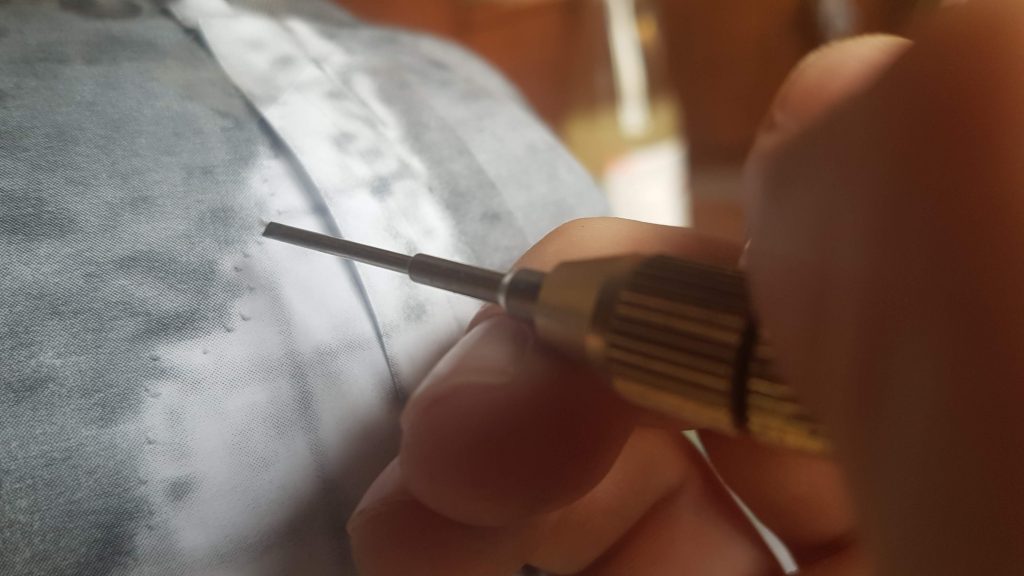
At first I tried to draw the continents through the paper with a pencil, but it didn’t work well. So I decided to use a thin screwdriver to scratch the not yet completely hard cement. This worked surprisingly well.
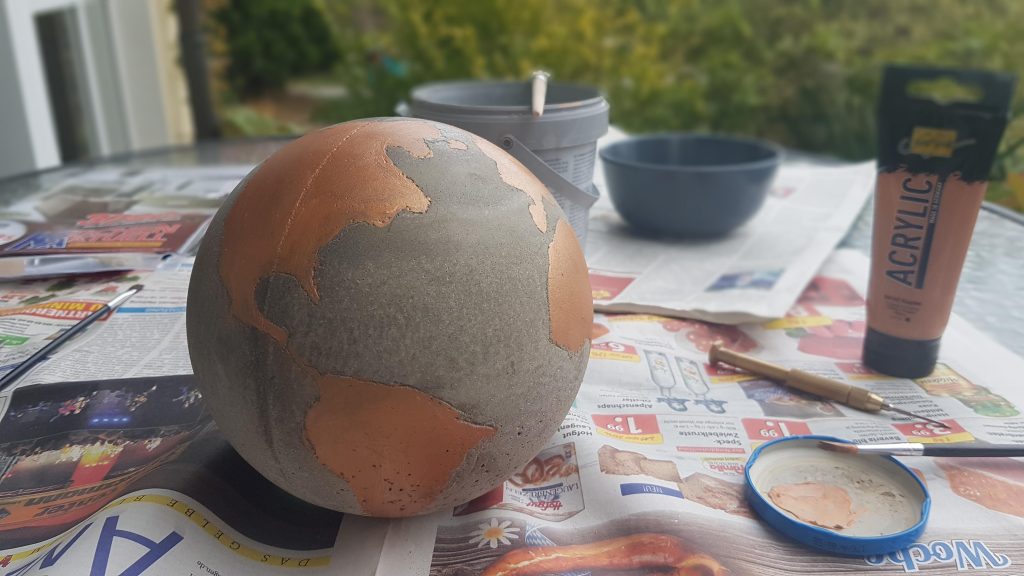
In the end all I had left to do was to paint the continents with an acrylic paint. I decided to use copper, which goes well with the mottled grey globe. The finish was a layer of clear varnish over the ball, because the cement was still a bit crumbly to the touch.
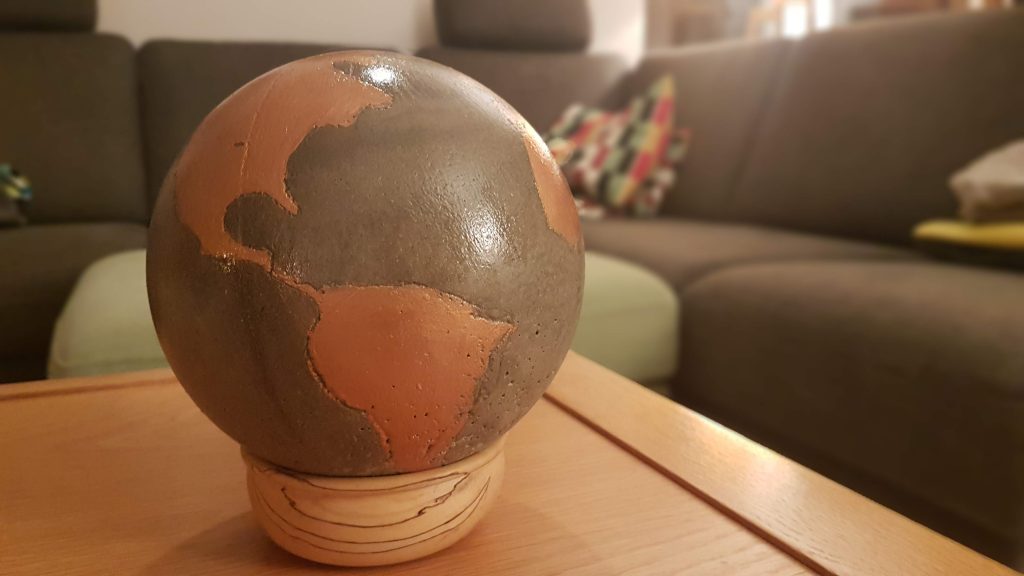
I’m quite happy with the final globe (the clear varnish is now much matter than in the photo above), even though it can’t compete with a purchased product. But it was a great fun and maybe I’ll build some more and improved versions sometime.
Since there were some questions: It weighs about 1,5 kg and cost about 20€ of material (cement, shell, acrylic paint and clear varnish).